
RAV4 component care
How to Inspect and Replace a Toyota RAV4 Engine Air Filter
Check the installed housing, seal and filter dimensions before replacement; dirt color alone does not prove restriction or correct fitment.
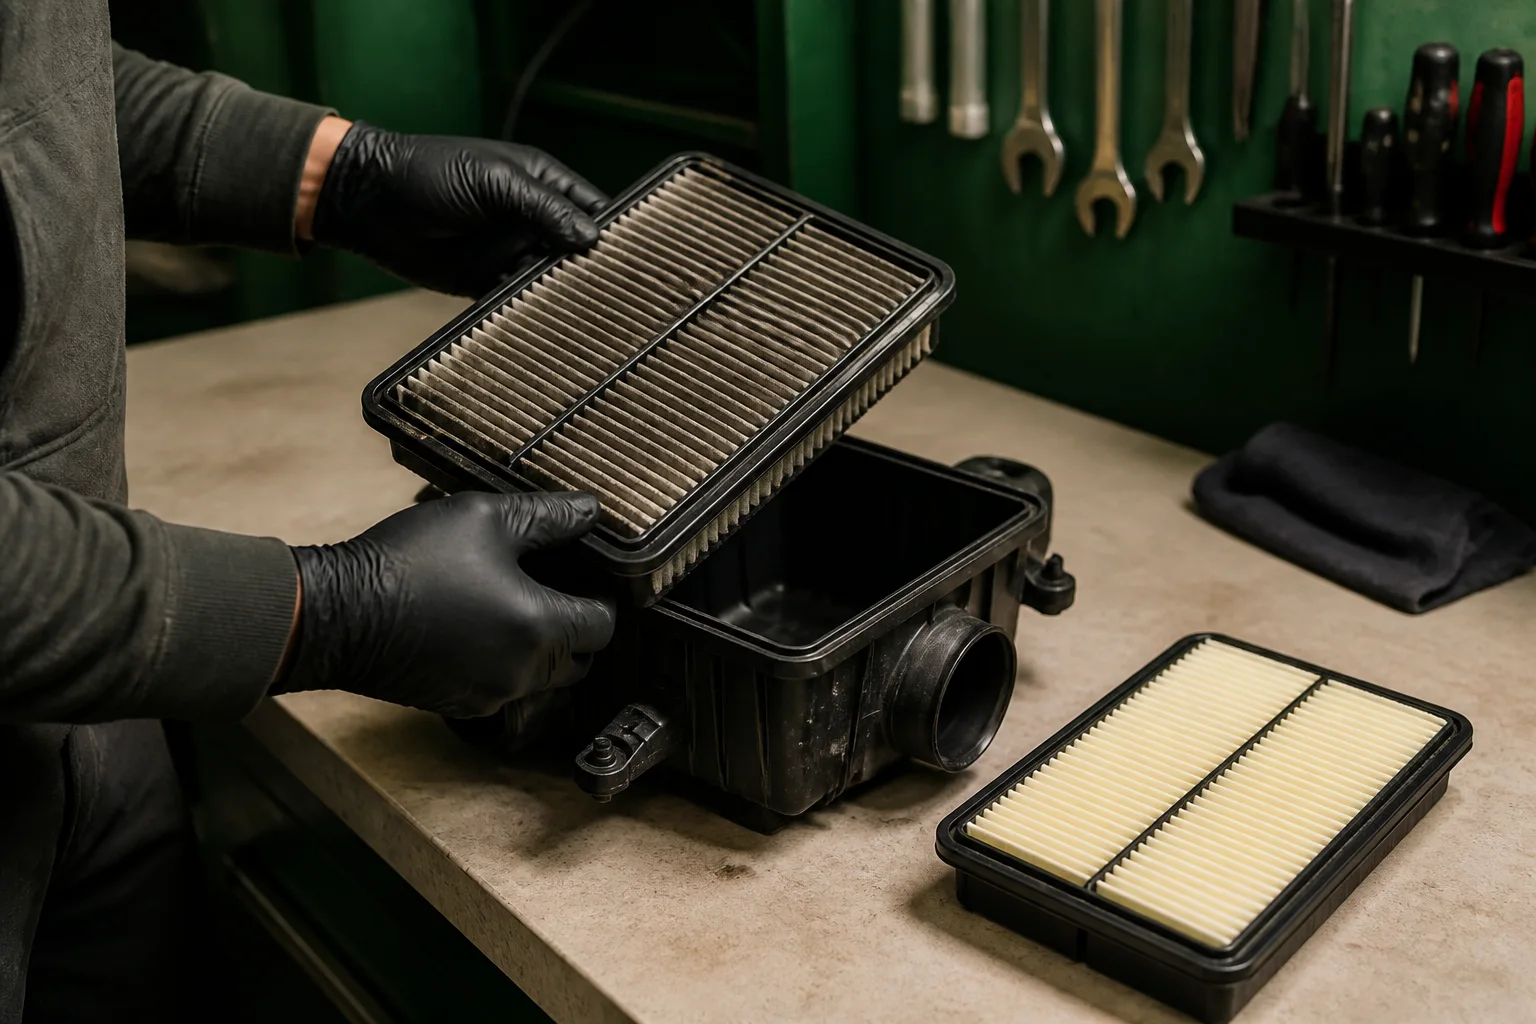
The engine air filter protects the intake from dust and debris, but RAV4 filter shapes vary by engine, production period and market. The correct task is to open the proper housing safely, inspect the filter and sealing area, and compare the replacement against the removed component before closing the air box.
Application boundaries
Know what changes the inspection.
Record the vehicle branch and the physical evidence before applying any maintenance decision.
Preparation
Have the right information and equipment ready.
- Replacement filter kept clean and compared with the removed element
- Vacuum or clean cloth only where the applicable procedure permits
- Basic hand tools for the actual clips or fasteners
- Light and camera for the housing, seal, reference and downstream side
Practical sequence
Use four controlled steps.
Stop when the condition exceeds routine inspection or the applicable procedure requires specialist tools.
- 01
Prepare the vehicle
Park safely, switch the vehicle off, allow moving or hot components to settle and locate the correct air-box service point.
- 02
Open without contaminating the intake
Release the proper clips or fasteners and keep loose dirt away from the clean side of the housing.
- 03
Inspect and compare
Check media damage, seal deformation and debris, then compare outline, dimensions, tabs and frame with the replacement.
- 04
Reseat and verify
Clean only as permitted, seat the filter evenly, close every fastener and confirm no duct or connector was disturbed.
01 · Inspection note
What to record before buying
Photograph the old filter from both faces, its edge seal, any readable reference and the empty housing. Measure length, width, height and any stepped or keyed corner. Record the engine or hybrid designation and production evidence with the part request.
02 · Inspection note
What condition matters
Torn media, damaged seals, heavy debris, water or oil contamination and a filter that does not sit flat deserve attention. A dark surface alone may not describe airflow restriction, so use the applicable inspection guidance and service history.
03 · Inspection note
How to avoid installation errors
Do not force the frame, leave tools in the housing or allow dirt to fall downstream. Verify the seal is continuous and the lid sits naturally before applying clips or screws. Reconnect any intake sensor or hose disturbed by access.
04 · Inspection note
When diagnosis goes further
Oil contamination, repeated water entry, damaged air-box parts, warning lamps or poor engine operation should not be reduced to a filter swap. Inspect the intake system and use qualified diagnosis where needed.
Common mistakes
Avoid errors that hide the real condition.
These mistakes can lead to a wrong part, an incomplete repair or an unsafe result.
Dropping dirt downstream
Loose debris beyond the filter can enter the intake; clean around the lid before opening and protect the clean side.
Forcing the lid onto a high seal
An incorrect or poorly seated filter can distort, leave a gap or break fasteners.
Disconnecting sensors unnecessarily
Disturbed air-meter connectors or intake ducts can create faults unrelated to the filter replacement.
Post-work verification
Check the result before normal use.
Confirm the seal is continuous, every clip or screw is secure and the intake duct and electrical connectors are undisturbed. Start the vehicle only after tools are removed; listen for an intake leak and check for warning lamps.
Safety boundary
Never run the engine with tools, loose debris or an incorrectly seated filter near the intake. Follow the applicable RAV4 service and safety information.
Related parts
Compare the RAV4 components involved in this check.
Use position, dimensions, connectors, labels and the removed component to narrow the correct replacement. Model year alone does not confirm fitment.
Common questions
Clarify the decision before starting work.
Use the answers with the applicable vehicle information and stop when diagnosis or specialist service is required.
Can a filter be selected by model year only?
No. Confirm engine or hybrid branch, housing, dimensions, seal and installed reference.
Should compressed air be used to clean the filter?
Only if the filter manufacturer and applicable service guidance explicitly permit it; aggressive cleaning can damage media.
Continue learning
Related RAV4 maintenance guides.
Compare related symptoms, service items and identification checks before deciding what work or replacement is needed.
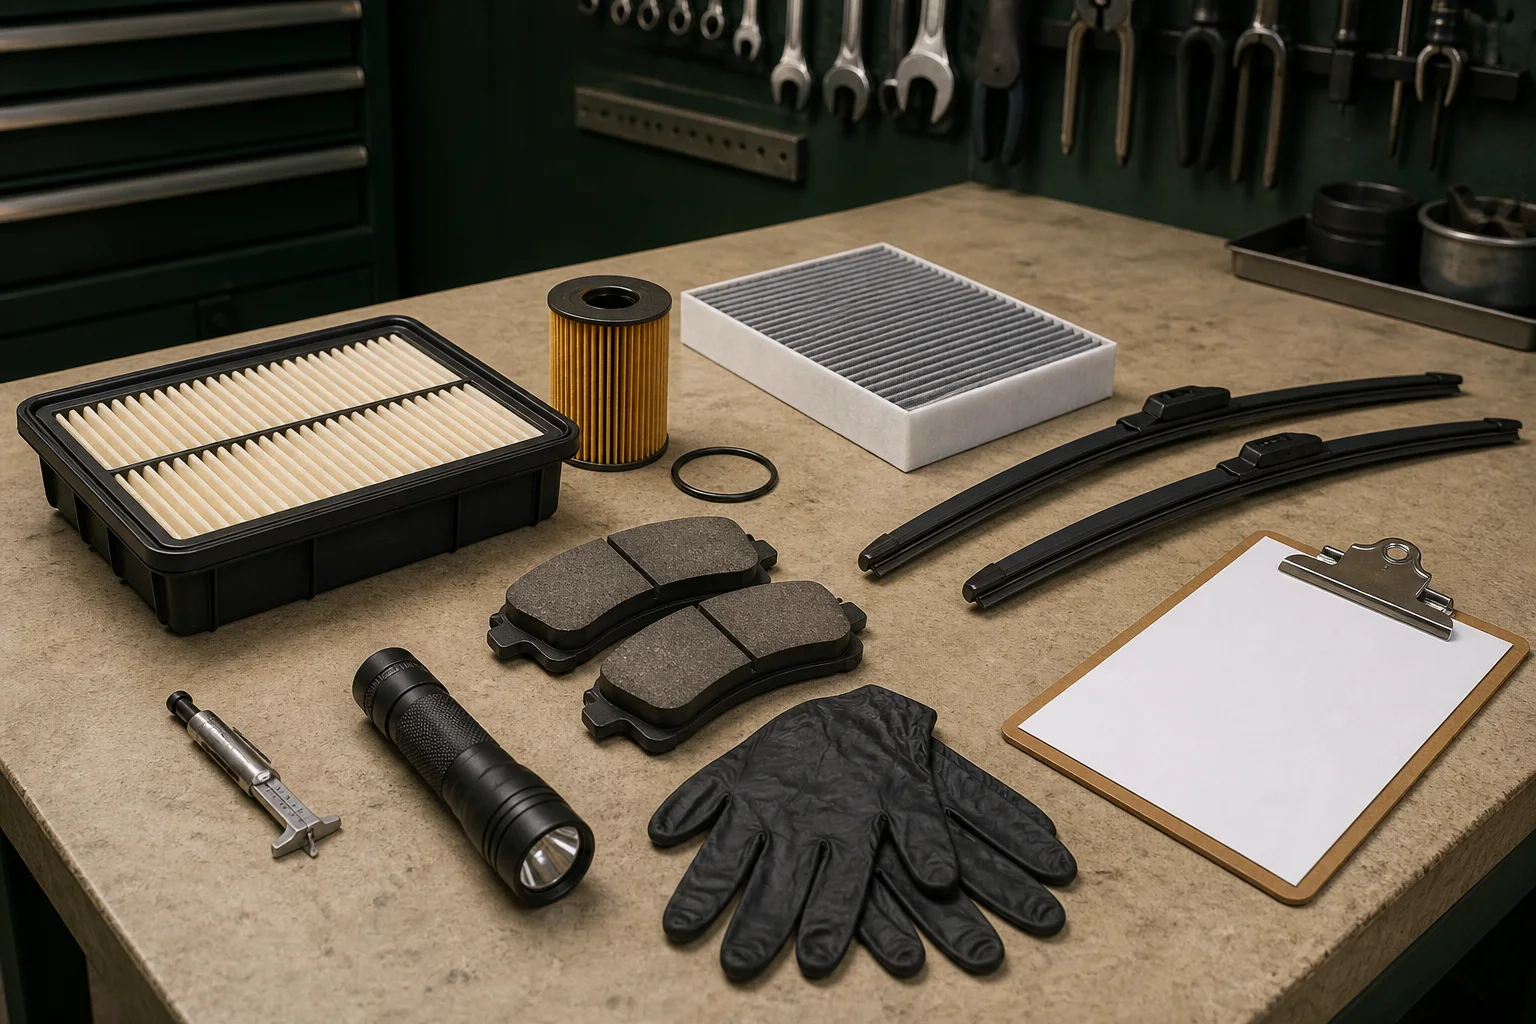
How to Build a Practical Toyota RAV4 Maintenance Inspection Plan
Use condition, mileage, operating environment and service records to decide what needs inspection before buying replacement parts.
Read guide →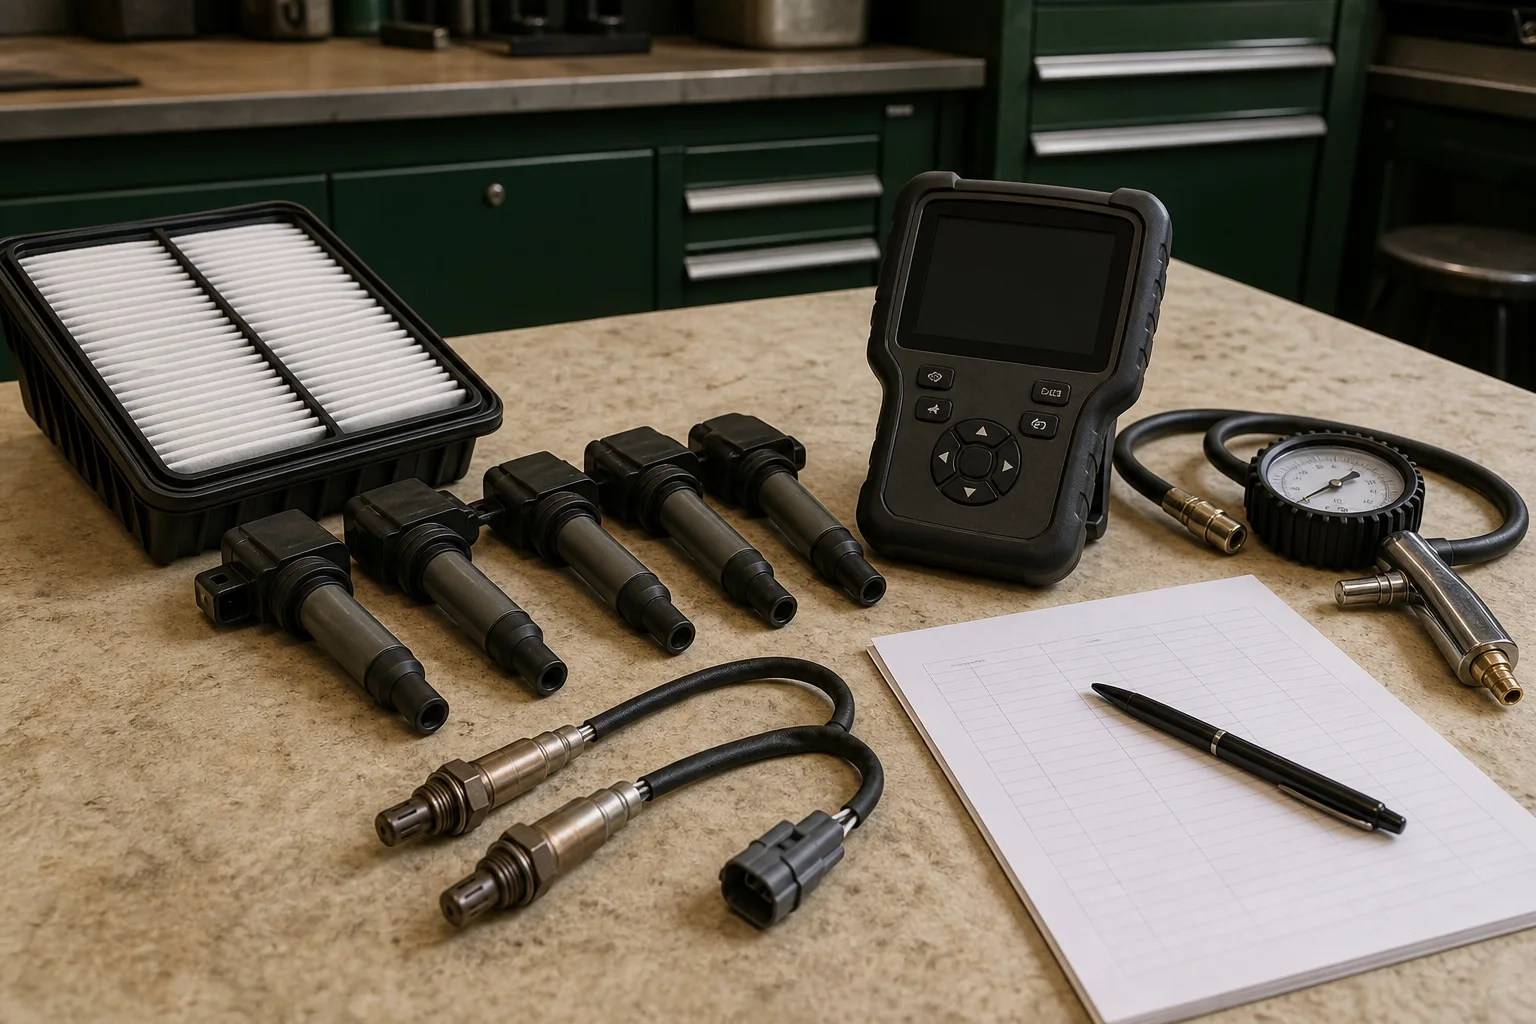
Toyota RAV4 Fuel Economy Checks Before Replacing Parts
Poor fuel economy can reflect operating conditions, tire or brake drag, maintenance state, sensor data or driving pattern; use a measured diagnostic path.
Read guide →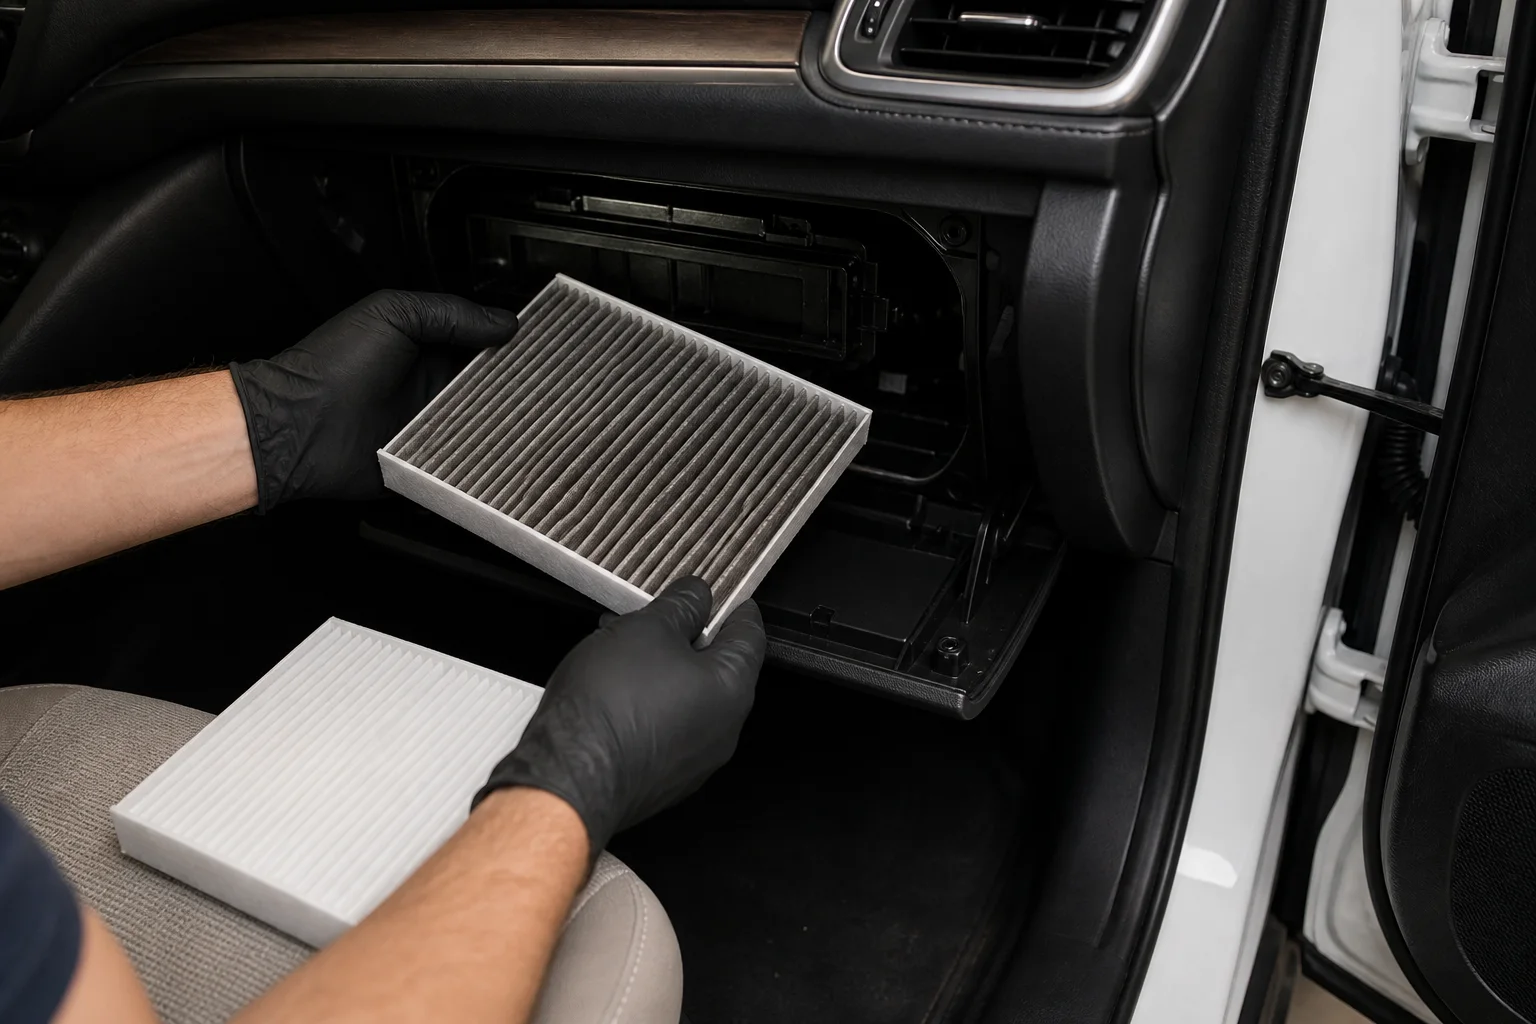
How to Inspect and Replace a Toyota RAV4 Cabin Air Filter
Record the housing and airflow direction before removal so the new filter is fitted in the correct orientation and does not deform.
Read guide →