
RAV4 component care
How to Inspect and Replace a Toyota RAV4 Cabin Air Filter
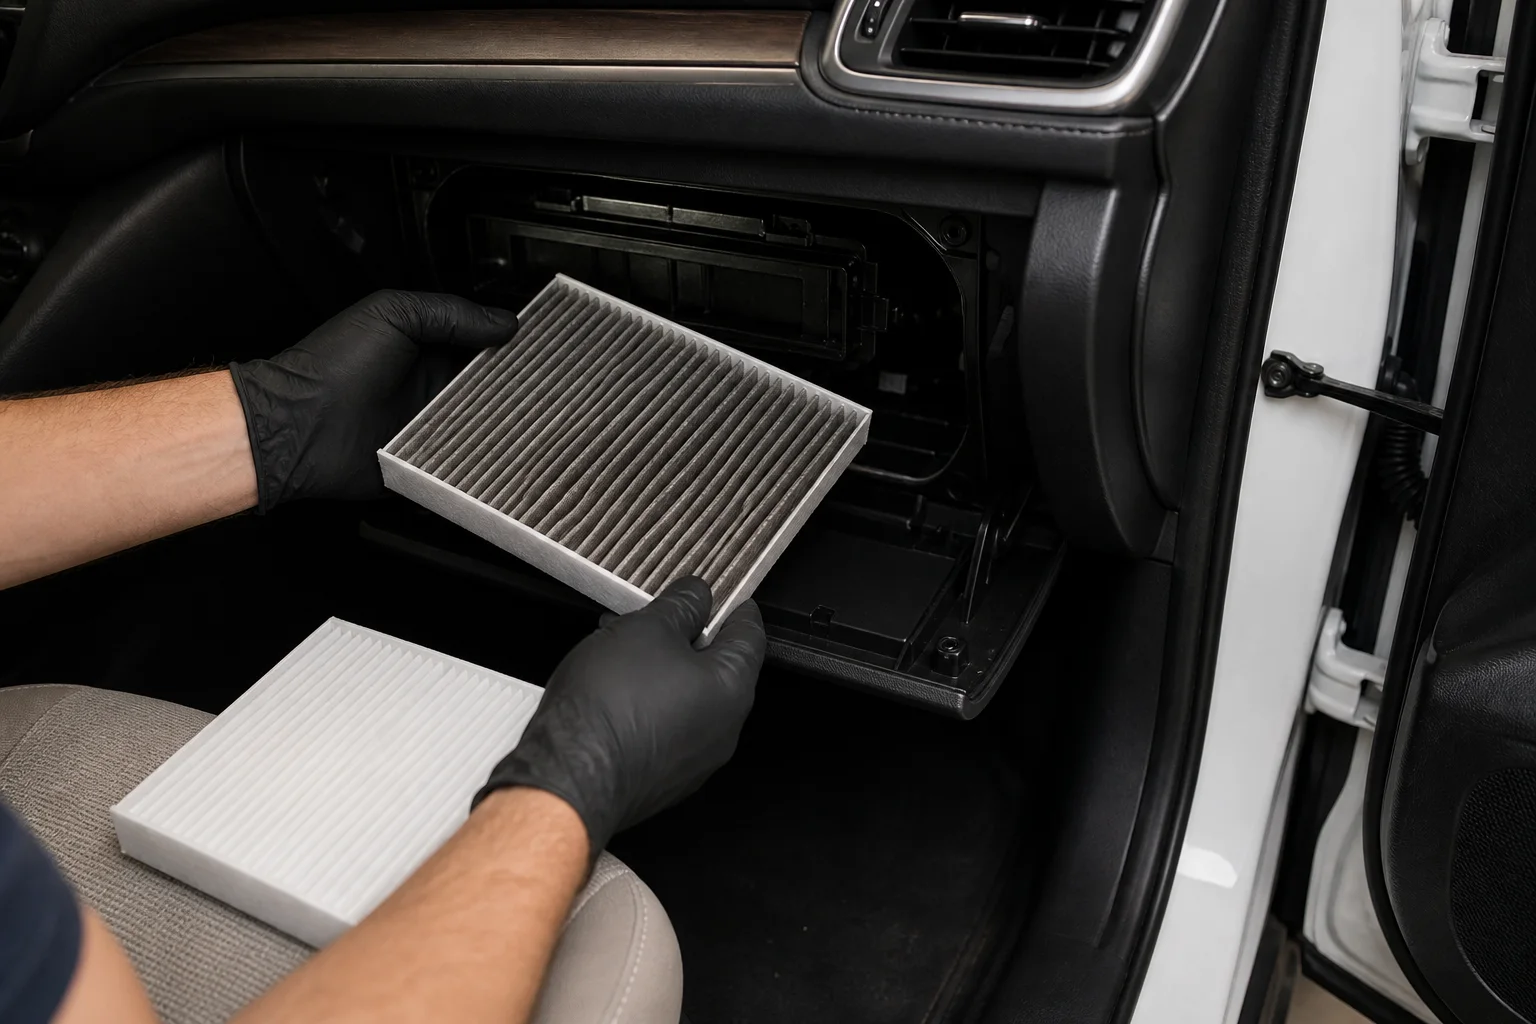
Record the housing and airflow direction before removal so the new filter is fitted in the correct orientation and does not deform.
Cabin filters collect dust and debris from the ventilation intake. Access and airflow marking can differ across production branches, so use the vehicle information and the arrows on the housing or removed filter rather than copying an unrelated video.
Application boundaries
Know what changes the inspection.
Record the vehicle branch and the physical evidence before applying any maintenance decision.
Preparation
Have the right information and equipment ready.
- Correct replacement compared for length, width, depth and corner shape
- Trim-safe light and only the tools required by the access design
- Gloves and a bag for dusty, damp or contaminated media
- Photo of the original direction, frame and access-cover latches
Practical sequence
Use four controlled steps.
Stop when the condition exceeds routine inspection or the applicable procedure requires specialist tools.
- 01
Prepare the cabin
Switch the climate system off, empty the access area and protect trim from scratches.
- 02
Document the old installation
Photograph the cover, filter orientation, airflow marking and how the pleats sit in the frame.
- 03
Compare the replacement
Check length, width, depth, corner shape, media and airflow arrow before insertion.
- 04
Close and test
Seat the filter without crushing it, latch the cover and run the blower briefly to check for abnormal noise.
01 · Inspection note
Airflow arrows need interpretation
An arrow may indicate airflow, while another product may mark an “up” direction. Use the housing evidence and instructions supplied with the correct filter; do not assume every printed arrow means the same thing.
02 · Inspection note
Debris tells a useful story
Leaves, rodent material, moisture or unusual odor can point to an intake, drainage or cleanliness issue beyond routine replacement. Wear appropriate protection and address the source rather than simply installing a new element.
03 · Inspection note
Media choices change the request
Standard particulate and charcoal media should be described honestly. A thicker or heavily loaded filter can restrict flow if it is not intended for the housing. Include desired media, dimensions, quantity and packing on a wholesale line.
04 · Inspection note
Avoid damage to trim and doors
Do not force the glovebox stops or filter door. If access differs from the applicable instructions, stop and identify the vehicle branch. Confirm the filter sits flat and the cover closes without compressing the frame.
Common mistakes
Avoid errors that hide the real condition.
These mistakes can lead to a wrong part, an incomplete repair or an unsafe result.
Forcing the glovebox stops
Excess force can crack trim or dampers; recheck the release method when resistance is abnormal.
Reversing the airflow direction
A filter can look seated while its construction and arrow face the wrong way.
Ignoring moisture or odor
A new element will not correct a blocked drain, water entry, mold source or damaged intake seal.
Post-work verification
Check the result before normal use.
Make sure the frame lies flat, the cover latches without compressing the media and the glovebox moves normally. Run the blower through several speeds and check for rubbing noise, weak airflow or debris discharge.
Safety boundary
Stop if access requires airbag, high-voltage or unfamiliar trim work. Use the applicable service information and a qualified technician where needed.
Related parts
Compare the RAV4 components involved in this check.
Use position, dimensions, connectors, labels and the removed component to narrow the correct replacement. Model year alone does not confirm fitment.
Common questions
Clarify the decision before starting work.
Use the answers with the applicable vehicle information and stop when diagnosis or specialist service is required.
How often should the cabin filter be replaced?
Use the applicable maintenance guidance and inspect more often in dusty, high-pollen or severe conditions.
Can a thicker filter always improve air quality?
No. It must match the housing and permitted airflow resistance as well as the desired media type.
Continue learning
Related RAV4 maintenance guides.
Compare related symptoms, service items and identification checks before deciding what work or replacement is needed.
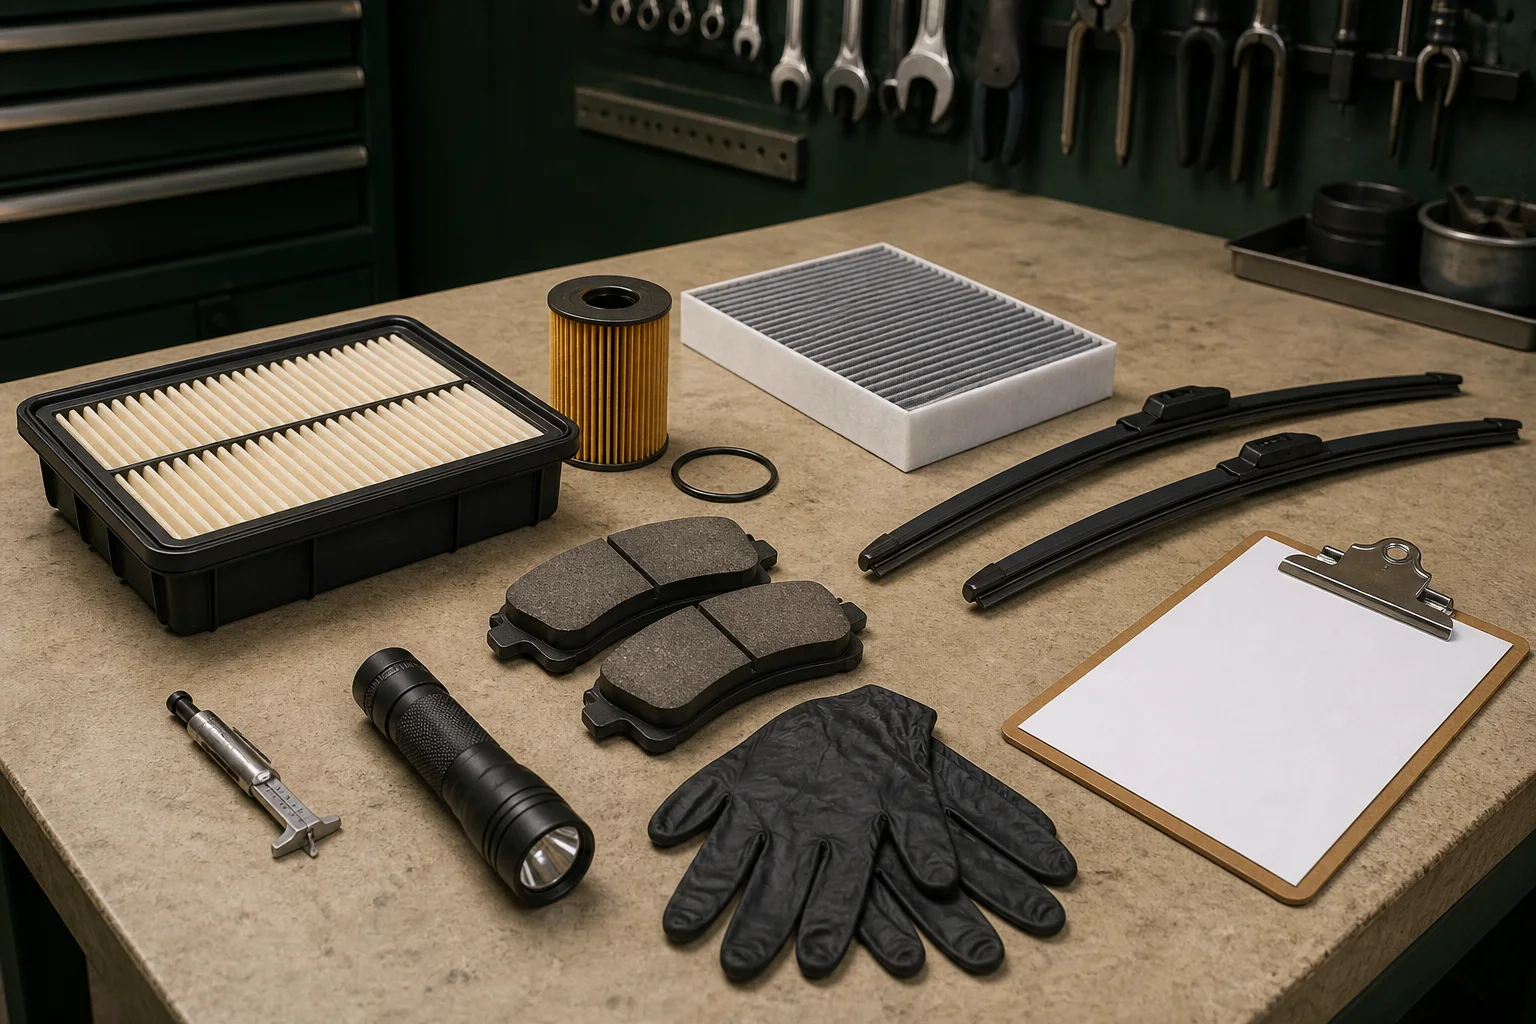
How to Build a Practical Toyota RAV4 Maintenance Inspection Plan
Use condition, mileage, operating environment and service records to decide what needs inspection before buying replacement parts.
Read guide →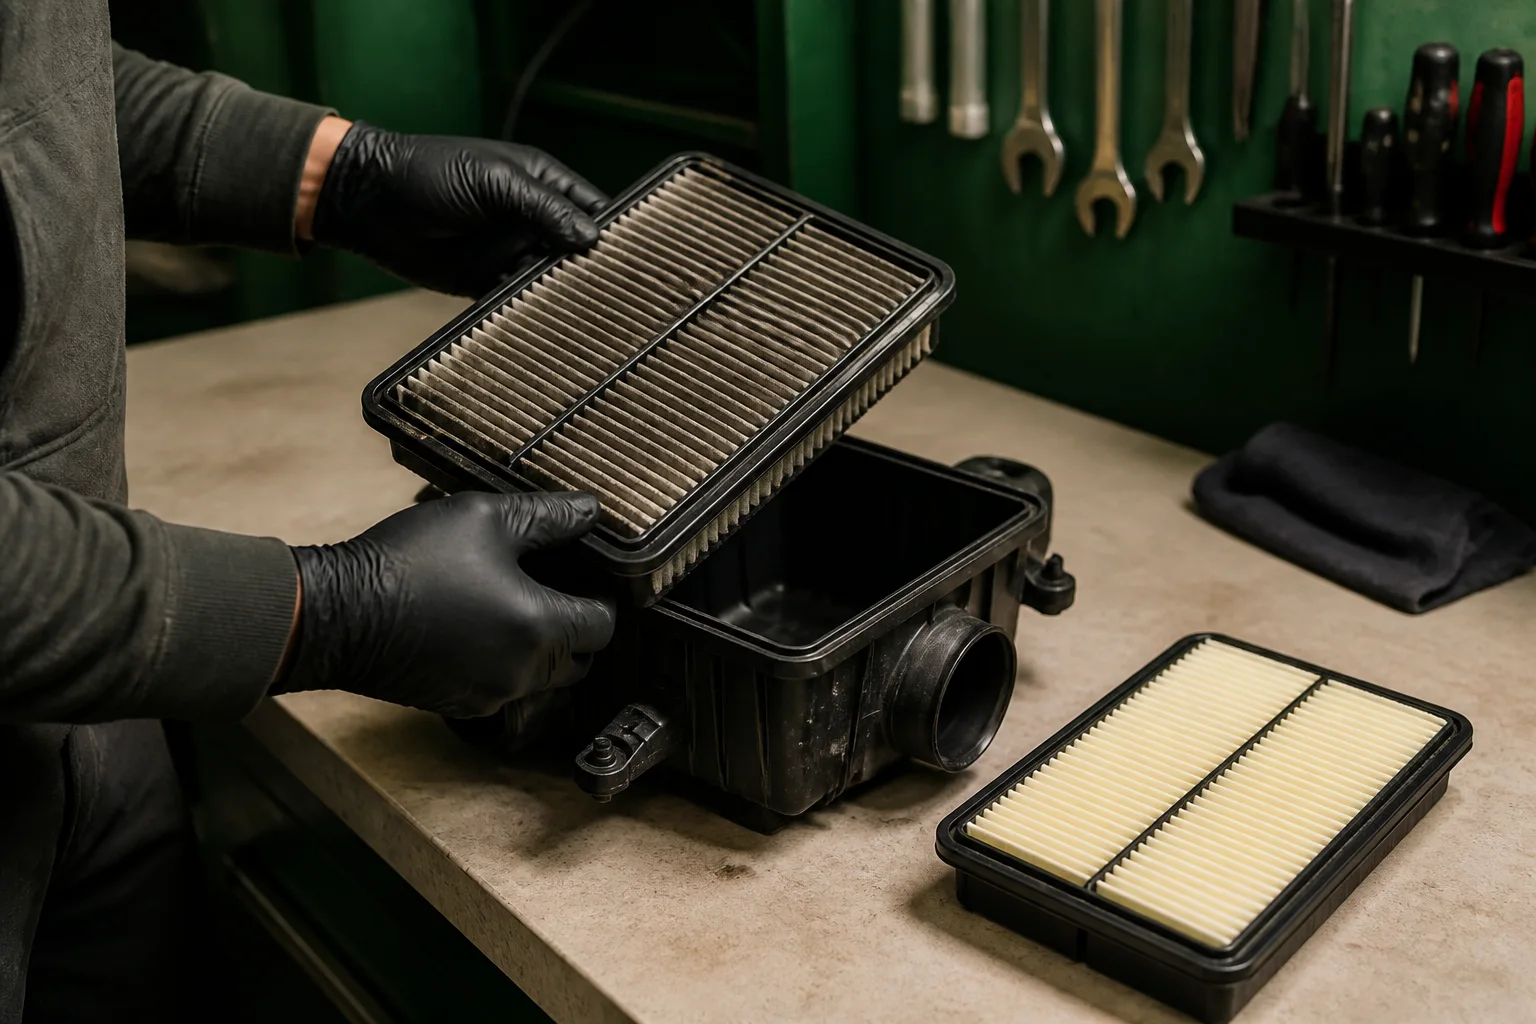
How to Inspect and Replace a Toyota RAV4 Engine Air Filter
Check the installed housing, seal and filter dimensions before replacement; dirt color alone does not prove restriction or correct fitment.
Read guide →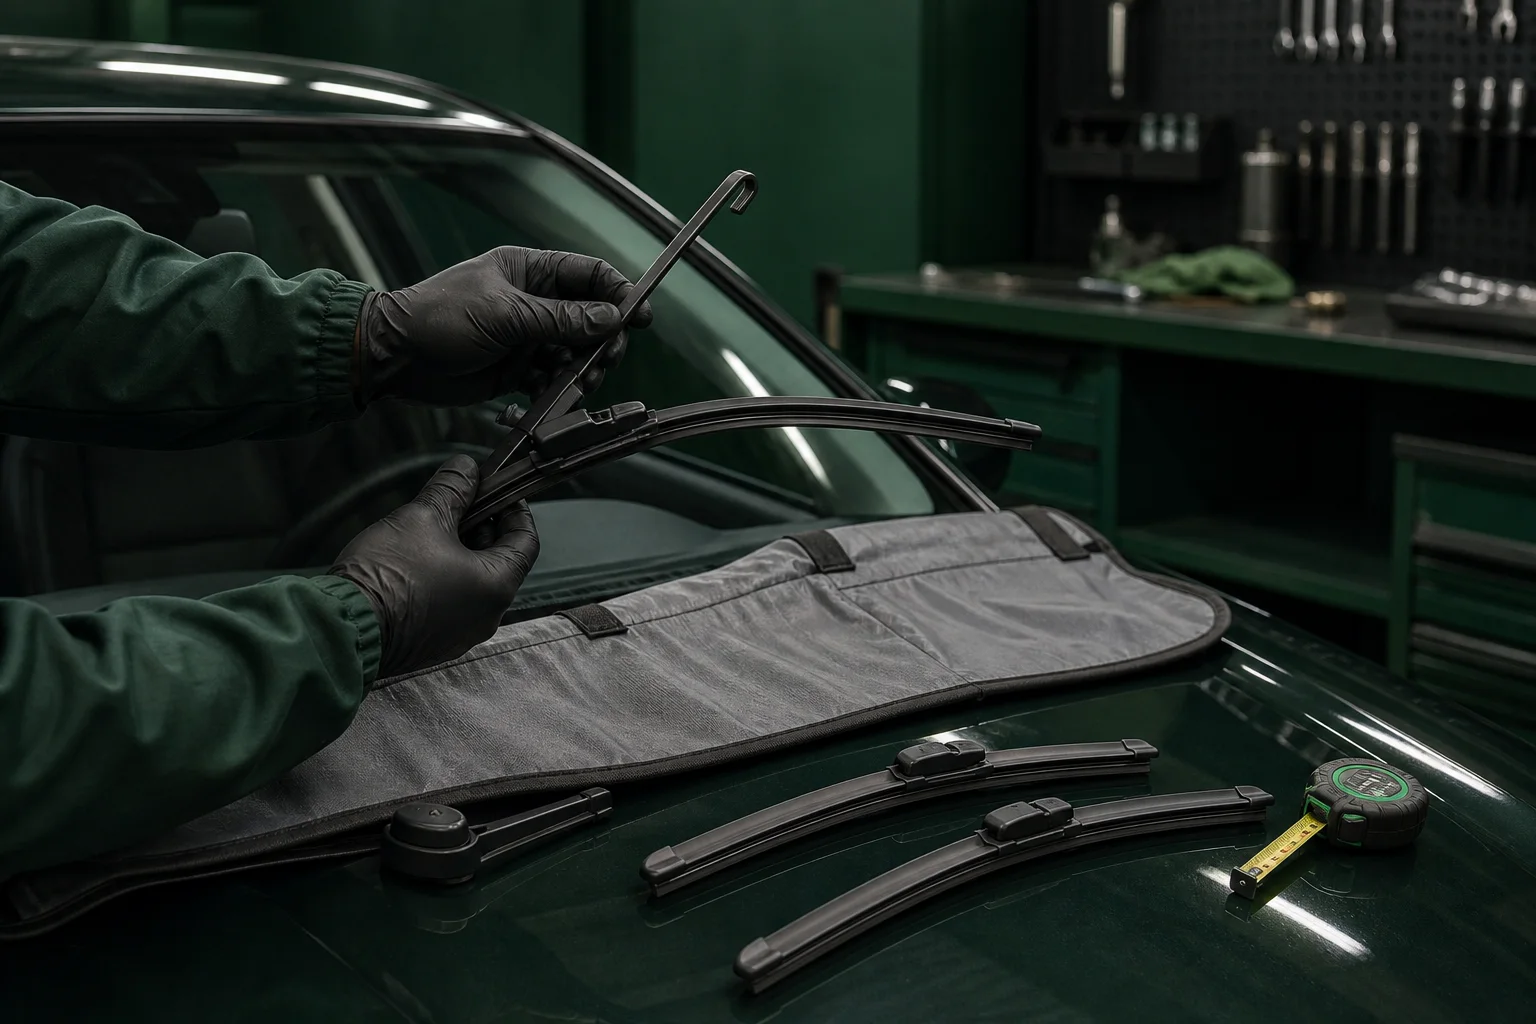
How to Measure and Replace Toyota RAV4 Wiper Blades
Treat driver, passenger and rear blades as separate parts; measure each blade and identify the arm adapter before buying a set.
Read guide →