
RAV4 component care
How to Inspect Toyota RAV4 Brake Pad Wear Safely
Brake noise alone does not determine pad condition; inspect thickness, wear pattern, rotor and caliper evidence using safe lifting and measuring procedures.
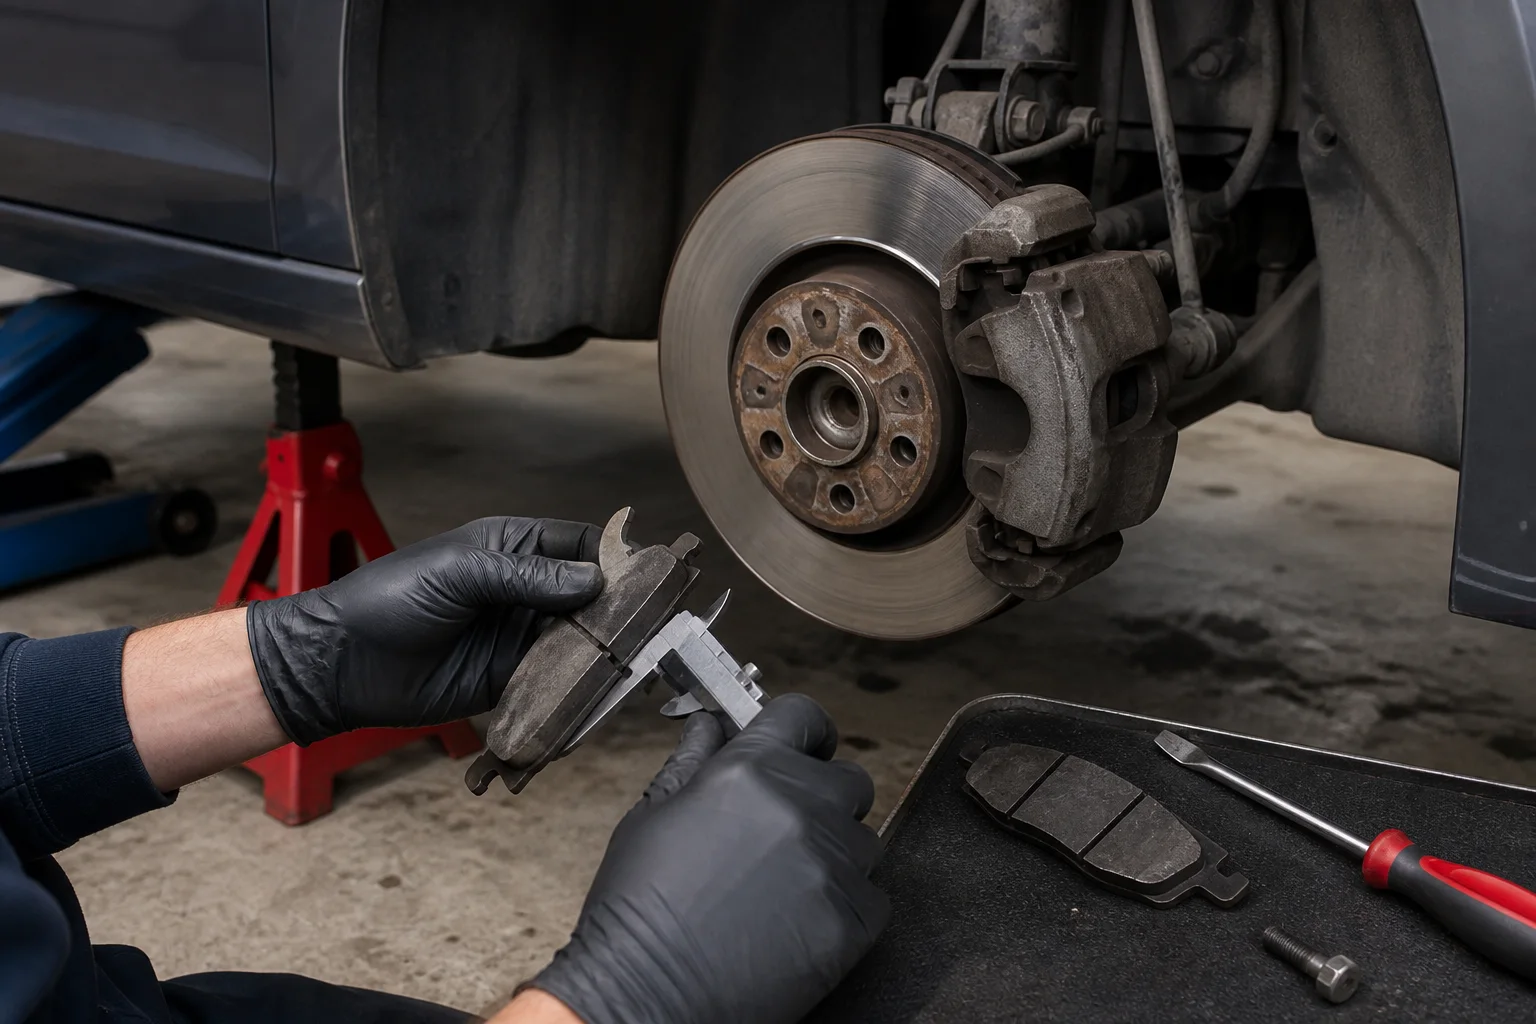
Brake components are safety-critical. A basic visual observation through the wheel may reveal an obvious concern, but a reliable assessment can require wheel removal, measuring tools and inspection of inner and outer pads. Anyone without suitable equipment and training should use a qualified technician.
Application boundaries
Know what changes the inspection.
Record the vehicle branch and the physical evidence before applying any maintenance decision.
Preparation
Have the right information and equipment ready.
- Level hard surface, wheel restraints and approved lifting/support equipment
- Eye and respiratory protection appropriate to brake dust
- Inspection light and suitable friction-material and rotor measuring tools
- Photos of caliper casting, pad outline, wear indicator and hardware before disassembly
Practical sequence
Use four controlled steps.
Stop when the condition exceeds routine inspection or the applicable procedure requires specialist tools.
- 01
Respond to symptoms
Noise, pulling, pulsation, warning lamps, fluid loss or abnormal heat should prompt proper inspection.
- 02
Secure the vehicle
Use an appropriate level work area, lifting points, stands, wheel restraint and personal protection.
- 03
Measure the complete brake
Compare inner and outer friction material, rotor surfaces and thickness, caliper movement and hose condition.
- 04
Identify before ordering
Record axle, caliper casting, pad outline, dimensions, wear indicator and hardware scope.
01 · Inspection note
Why inner and outer pads both matter
A visible outer pad can have more material than the inner pad when slides or piston movement are not normal. Uneven wear is diagnostic evidence; replacing pads without addressing the cause may produce rapid repeat wear.
02 · Inspection note
Measure friction material correctly
Use the applicable service limit and procedure for the exact brake package. Do not count the steel backing plate as friction thickness. Record the thinnest relevant point and note taper, cracking, contamination or edge damage.
03 · Inspection note
Inspect the surrounding system
Rotor scoring, heat marks, fluid leakage, damaged hoses, seized slides and missing hardware change the repair scope. Unsafe rotors, calipers or hoses must not be reused merely because new pads are available.
04 · Inspection note
Build the correct parts request
State front or rear axle, vehicle branch, caliper evidence, old-pad outline and measurements. List hardware, wear indicators and axle-set quantity explicitly. Scoped OE references are starting points, not universal fitment proof.
Common mistakes
Avoid errors that hide the real condition.
These mistakes can lead to a wrong part, an incomplete repair or an unsafe result.
Relying on the visible outer pad
The inner pad may be thinner because of piston or slide problems, so one sight line is not enough.
Including the backing plate
Only friction material counts toward pad thickness; use the applicable service limit for the exact brake package.
Replacing pads without finding uneven wear
Seized slides, rotor damage or hydraulic faults can quickly damage a new set and leave a safety defect unresolved.
Post-work verification
Check the result before normal use.
After qualified brake work, confirm the pedal and fluid checks specified by the service procedure, verify every fastener and wheel is correctly secured, and perform a controlled brake test in a safe area. Any pull, leak, warning lamp, abnormal heat or poor pedal requires immediate reinspection.
Safety boundary
Do not work under a vehicle supported only by a jack, inhale brake dust deliberately or drive with unresolved braking defects. Use qualified service when uncertain.
Related parts
Compare the RAV4 components involved in this check.
Use position, dimensions, connectors, labels and the removed component to narrow the correct replacement. Model year alone does not confirm fitment.
Common questions
Clarify the decision before starting work.
Use the answers with the applicable vehicle information and stop when diagnosis or specialist service is required.
Can brake pads be ordered from wheel size alone?
No. Brake package, caliper, axle, production and old-pad evidence are more reliable.
Does a squeal always mean the pads are worn out?
No. Noise has several possible causes and should be assessed with pad, rotor, hardware and caliper condition.
Continue learning
Related RAV4 maintenance guides.
Compare related symptoms, service items and identification checks before deciding what work or replacement is needed.
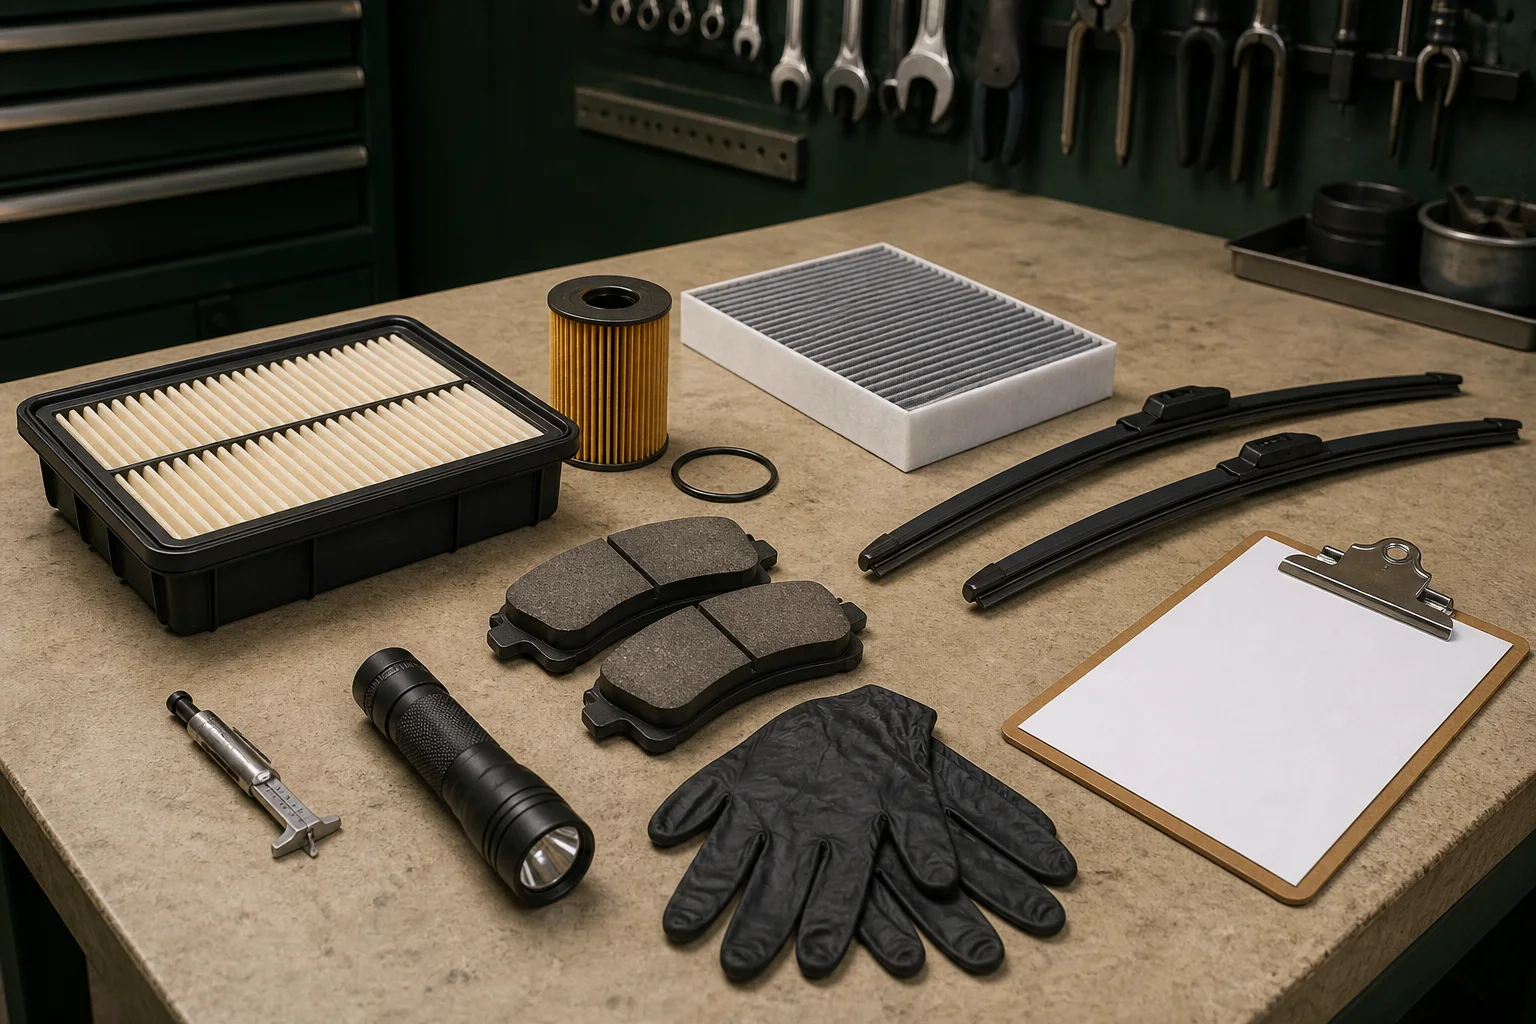
How to Build a Practical Toyota RAV4 Maintenance Inspection Plan
Use condition, mileage, operating environment and service records to decide what needs inspection before buying replacement parts.
Read guide →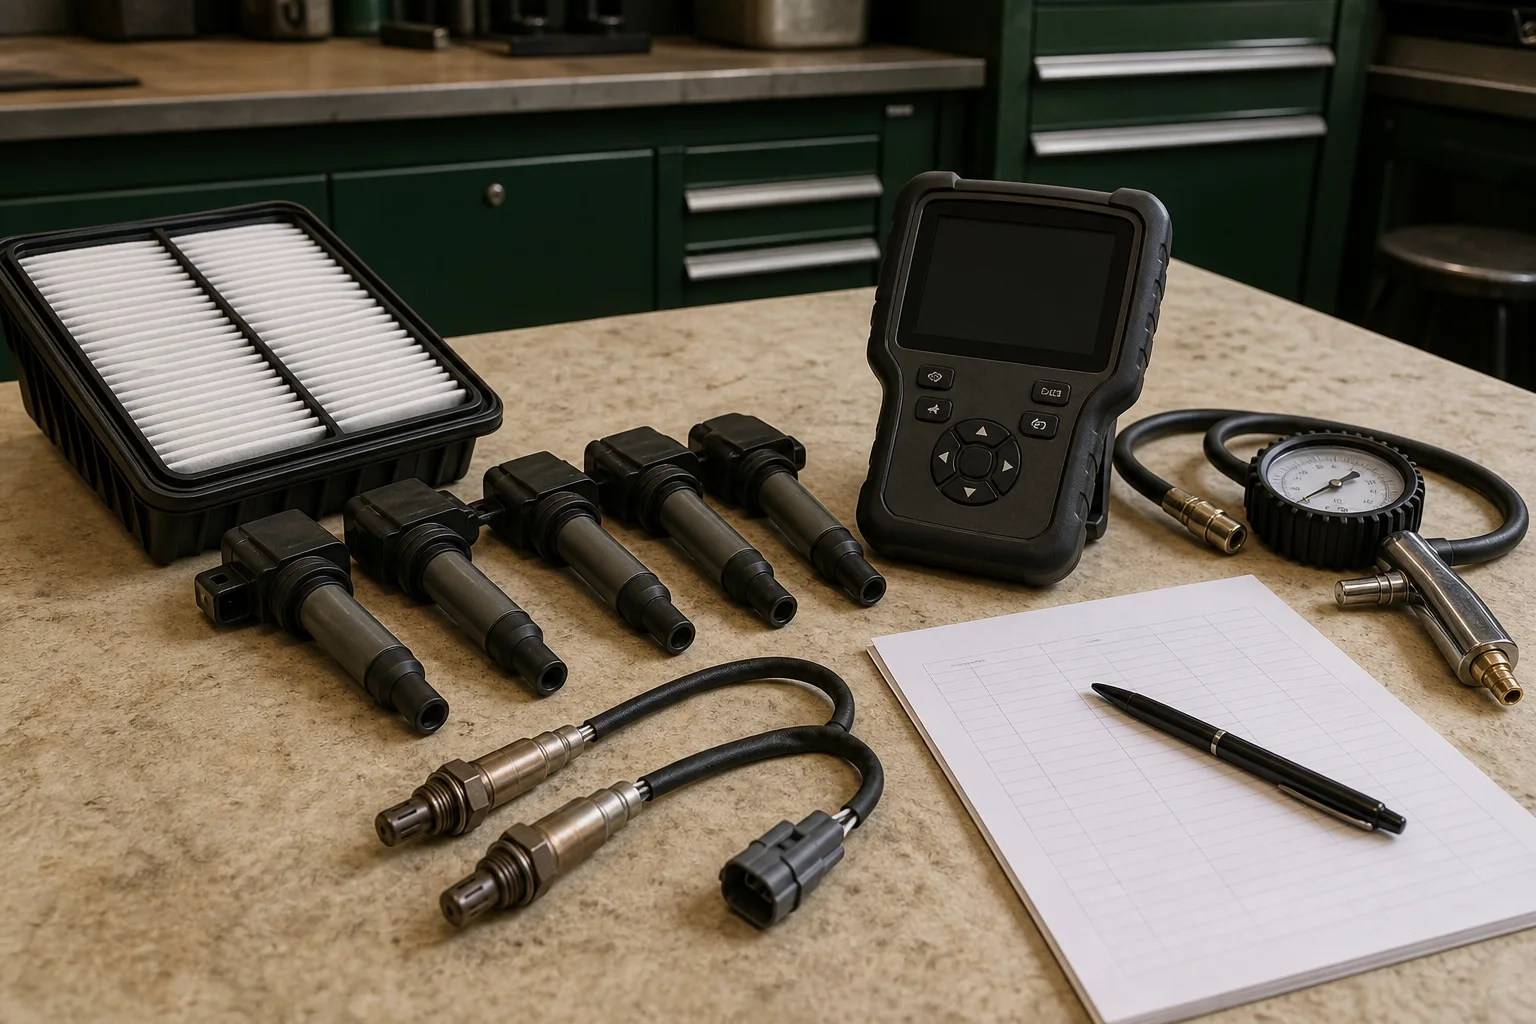
Toyota RAV4 Fuel Economy Checks Before Replacing Parts
Poor fuel economy can reflect operating conditions, tire or brake drag, maintenance state, sensor data or driving pattern; use a measured diagnostic path.
Read guide →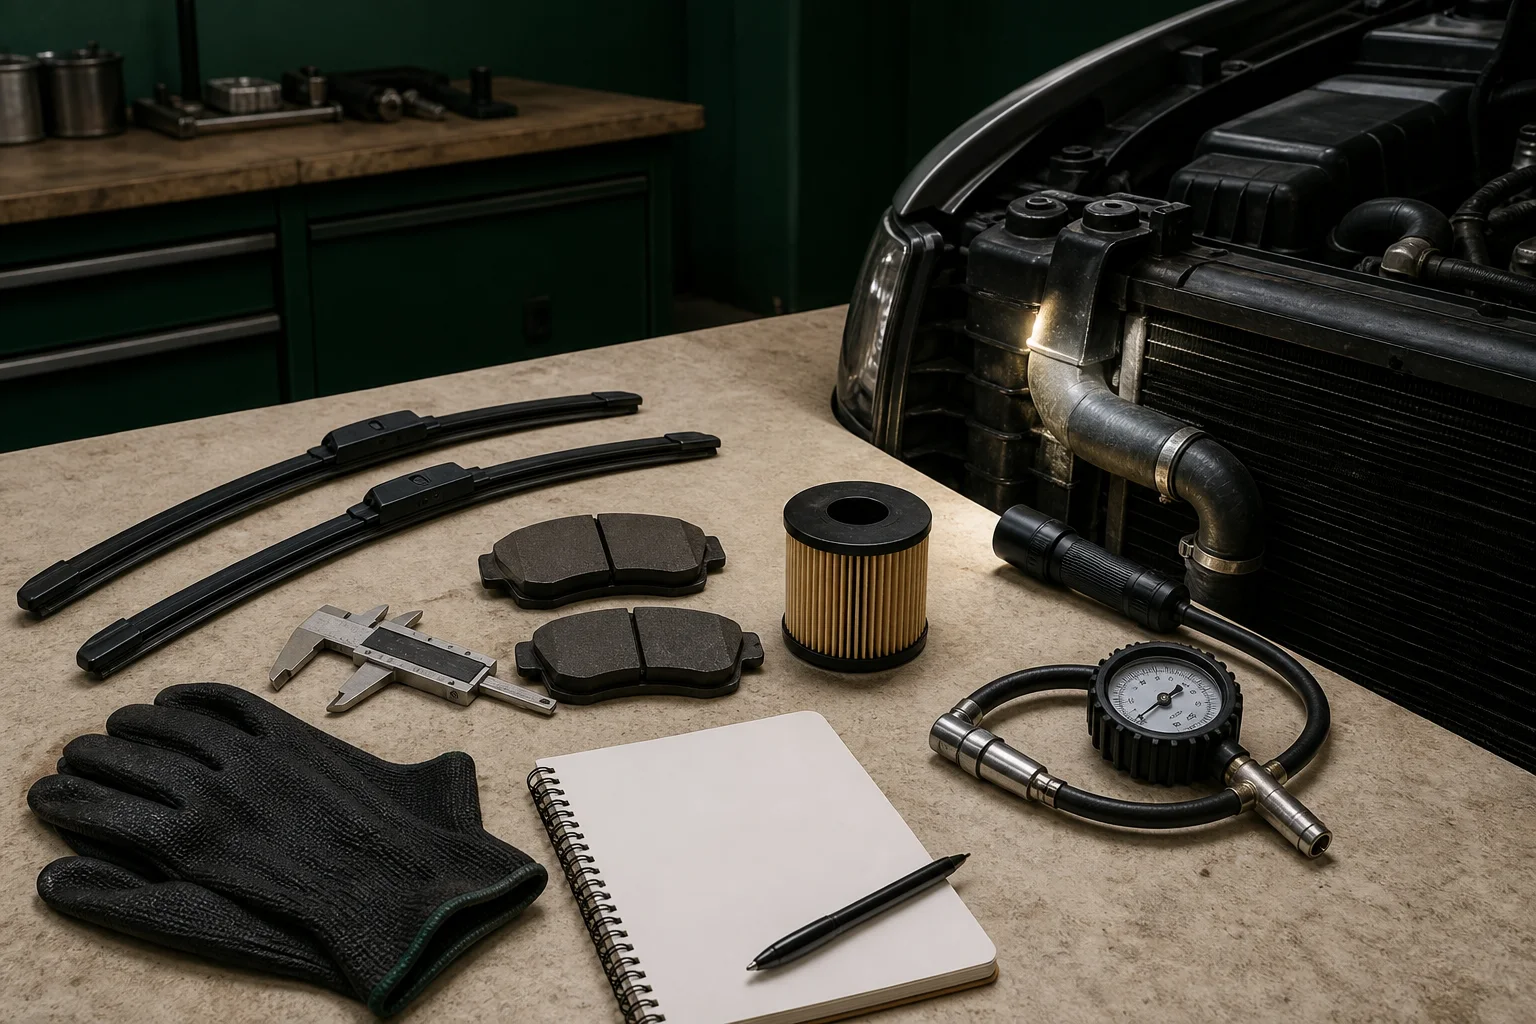
Toyota RAV4 Pre-Trip Parts and Safety Checklist
A pre-trip check should find safety or reliability concerns early without encouraging roadside repairs beyond the operator’s competence.
Read guide →